Overview
Scrolling to a specific element or part of a webpage is mainly done to keep a user intact with the webpage for a longer period. A scroll is a function that can be used also to scroll to the beginning of a webpage from the bottom of the webpage instantly. Instant scrolling functionality is done or implemented using JavaScript. Scrolling to a particular section of a webpage adds a single-click functionality without much intervention from the user.
There are different JavaScript scroll to element methods that are used to implement the functionality of scrolling to a particular element. These methods include:
- JavaScript scrollIntoView method.
- JavaScript scroll method.
- JavsScript scrollTo method. In this article, we will understand them thoroughly.
Introduction
Before learning about the JavaScript scroll to element, Let's learn a bit about JavaScript.
JavaScript is an object-oriented programming language used on web pages. JavaScript is the web programming language used on both the client and server sides to provide dynamic and interactive behavior in a webpage. It is a lightweight and easy-to-understand programming language. JavaScript is the most popular programming language in the world. It is a scripting language of a webpage that can be used even by non-browser environments like NodeJs, Adobe Acrobat, etc. Languages like HTML and CSS are used to provide structure and styling to a webpage respectively whereas JavaScript engages users by providing interactiveness to a webpage.
Now, let's learn about the Scroll function and the JavaScript scroll to element methods that implement the Scroll function.
Scrolling refers to functionality that moves the user from a specific part of the webpage to another. The scrolling in a website can be done by the physical components such as a scroll bar or with the help of buttons which are solely made to scroll in a specific element.
Scrolling to a specific element or part of a webpage is done using methods available in Javascript scroll to element which are as follows:
- scrollIntoView() method
- scrollTo() method
- scroll() method
Now, we will discuss each of the above-mentioned methods used for scrolling with proper explanations and examples.
The ScrollIntoView Method
The scrollIntoView method in JavaScript is used to scroll to a specific element of a webpage in a web browser. Specifically, in the JavaScript scrollIntoView method, the scrolling is done based on the scrollable parent element. In general, most of the time the parent element will be the window of the web browser but in some of the scenarios, When the required scrollable element is placed within another scrollable element then the scrolling is done concerning the parent element rather than the window of the web browser's window. The scrollIntoView() method helps to carry out the scrolling of an element into the visible area of the browser window.
Now, let's see the syntax of scrollintoview method.
Syntax
element.scrollIntoView();
Parameter
There are several customizations available for the scrollIntoView() method which is done by passing scrollIntoViewOptions as the parameter.
scrollIntoView method takes a parameter which is known as the scrollIntoViewOptions. The scrollIntoViewOptions object contains the following customization properties:
Behaviour :- This property of scrollIntoViewOptions tells about the scrolling behavior. Whether the scrolling is done using scrollintoview method should contain an animation or there should be a normal instant scrolling without any animation up to the specific element. This property contains the following values which can be passed with the parameter:
- smooth: This value specifies smooth scrolling that is the scrolling with animation.
- auto: This value specifies instant scrolling to the required element without any animation.
Inline :- This property of scrollIntoViewOptions tells about the alignment mainly horizontal alignment of the required element concerning the parent scrollable element when using the scrollintoview method. This property contains the following values which can be passed with the parameter:
- start: This value specifies that the required element is aligned to the left or start of the parent scrollable element.
- center: This value specifies that the required element is aligned to the center of the parent scrollable element.
- end: This value provides that the required element is aligned at the end or right of the parent scrollable element.
- nearest: This value specifies that the element should be aligned according to the situation. If the element is at the right or the end then the required elements will also be aligned at the end. Similarly, if the element is at the left or the starting then the required elements will also be aligned at the left.
Block :- This property of scrollIntoViewOptions tells about the vertical alignment of a required element concerning the parent scrollable element when using the scrollintoview method. This property contains the following values which can be passed with the parameter:
- start: This value specifies that the required element is aligned at the top or start of the parent scrollable element.
- center: This value specifies that the required element is aligned to the center of the parent scrollable element.
- end: This value specifies that the required element is aligned at the bottom of the parent scrollable element.
- nearest: This value specifies that the element should be aligned according to the situation. If the element is at the top then the required elements will also be aligned at the top. Similarly, if the element is at the bottom then the required elements will also be aligned at the bottom.
Now, let's take an example to understand the scrollIntoView() method with proper implementation and explanation.
Code:
<!DOCTYPE html>
<html lang="en">
<head>
<meta charset="UTF-8">
<meta http-equiv="X-UA-Compatible" content="IE=edge">
<meta name="viewport" content="width=device-width, initial-scale=1.0">
<title>Scroll Method in JS</title>
</head>
<style>
#scroll {
height: 450px;
width: 350px;
overflow: auto;
background: rgb(243, 242, 245);
}
#content {
margin: 500px;
height: 800px;
width: 2000px;
background-color: rgb(250, 245, 243);
}
</style>
<body>
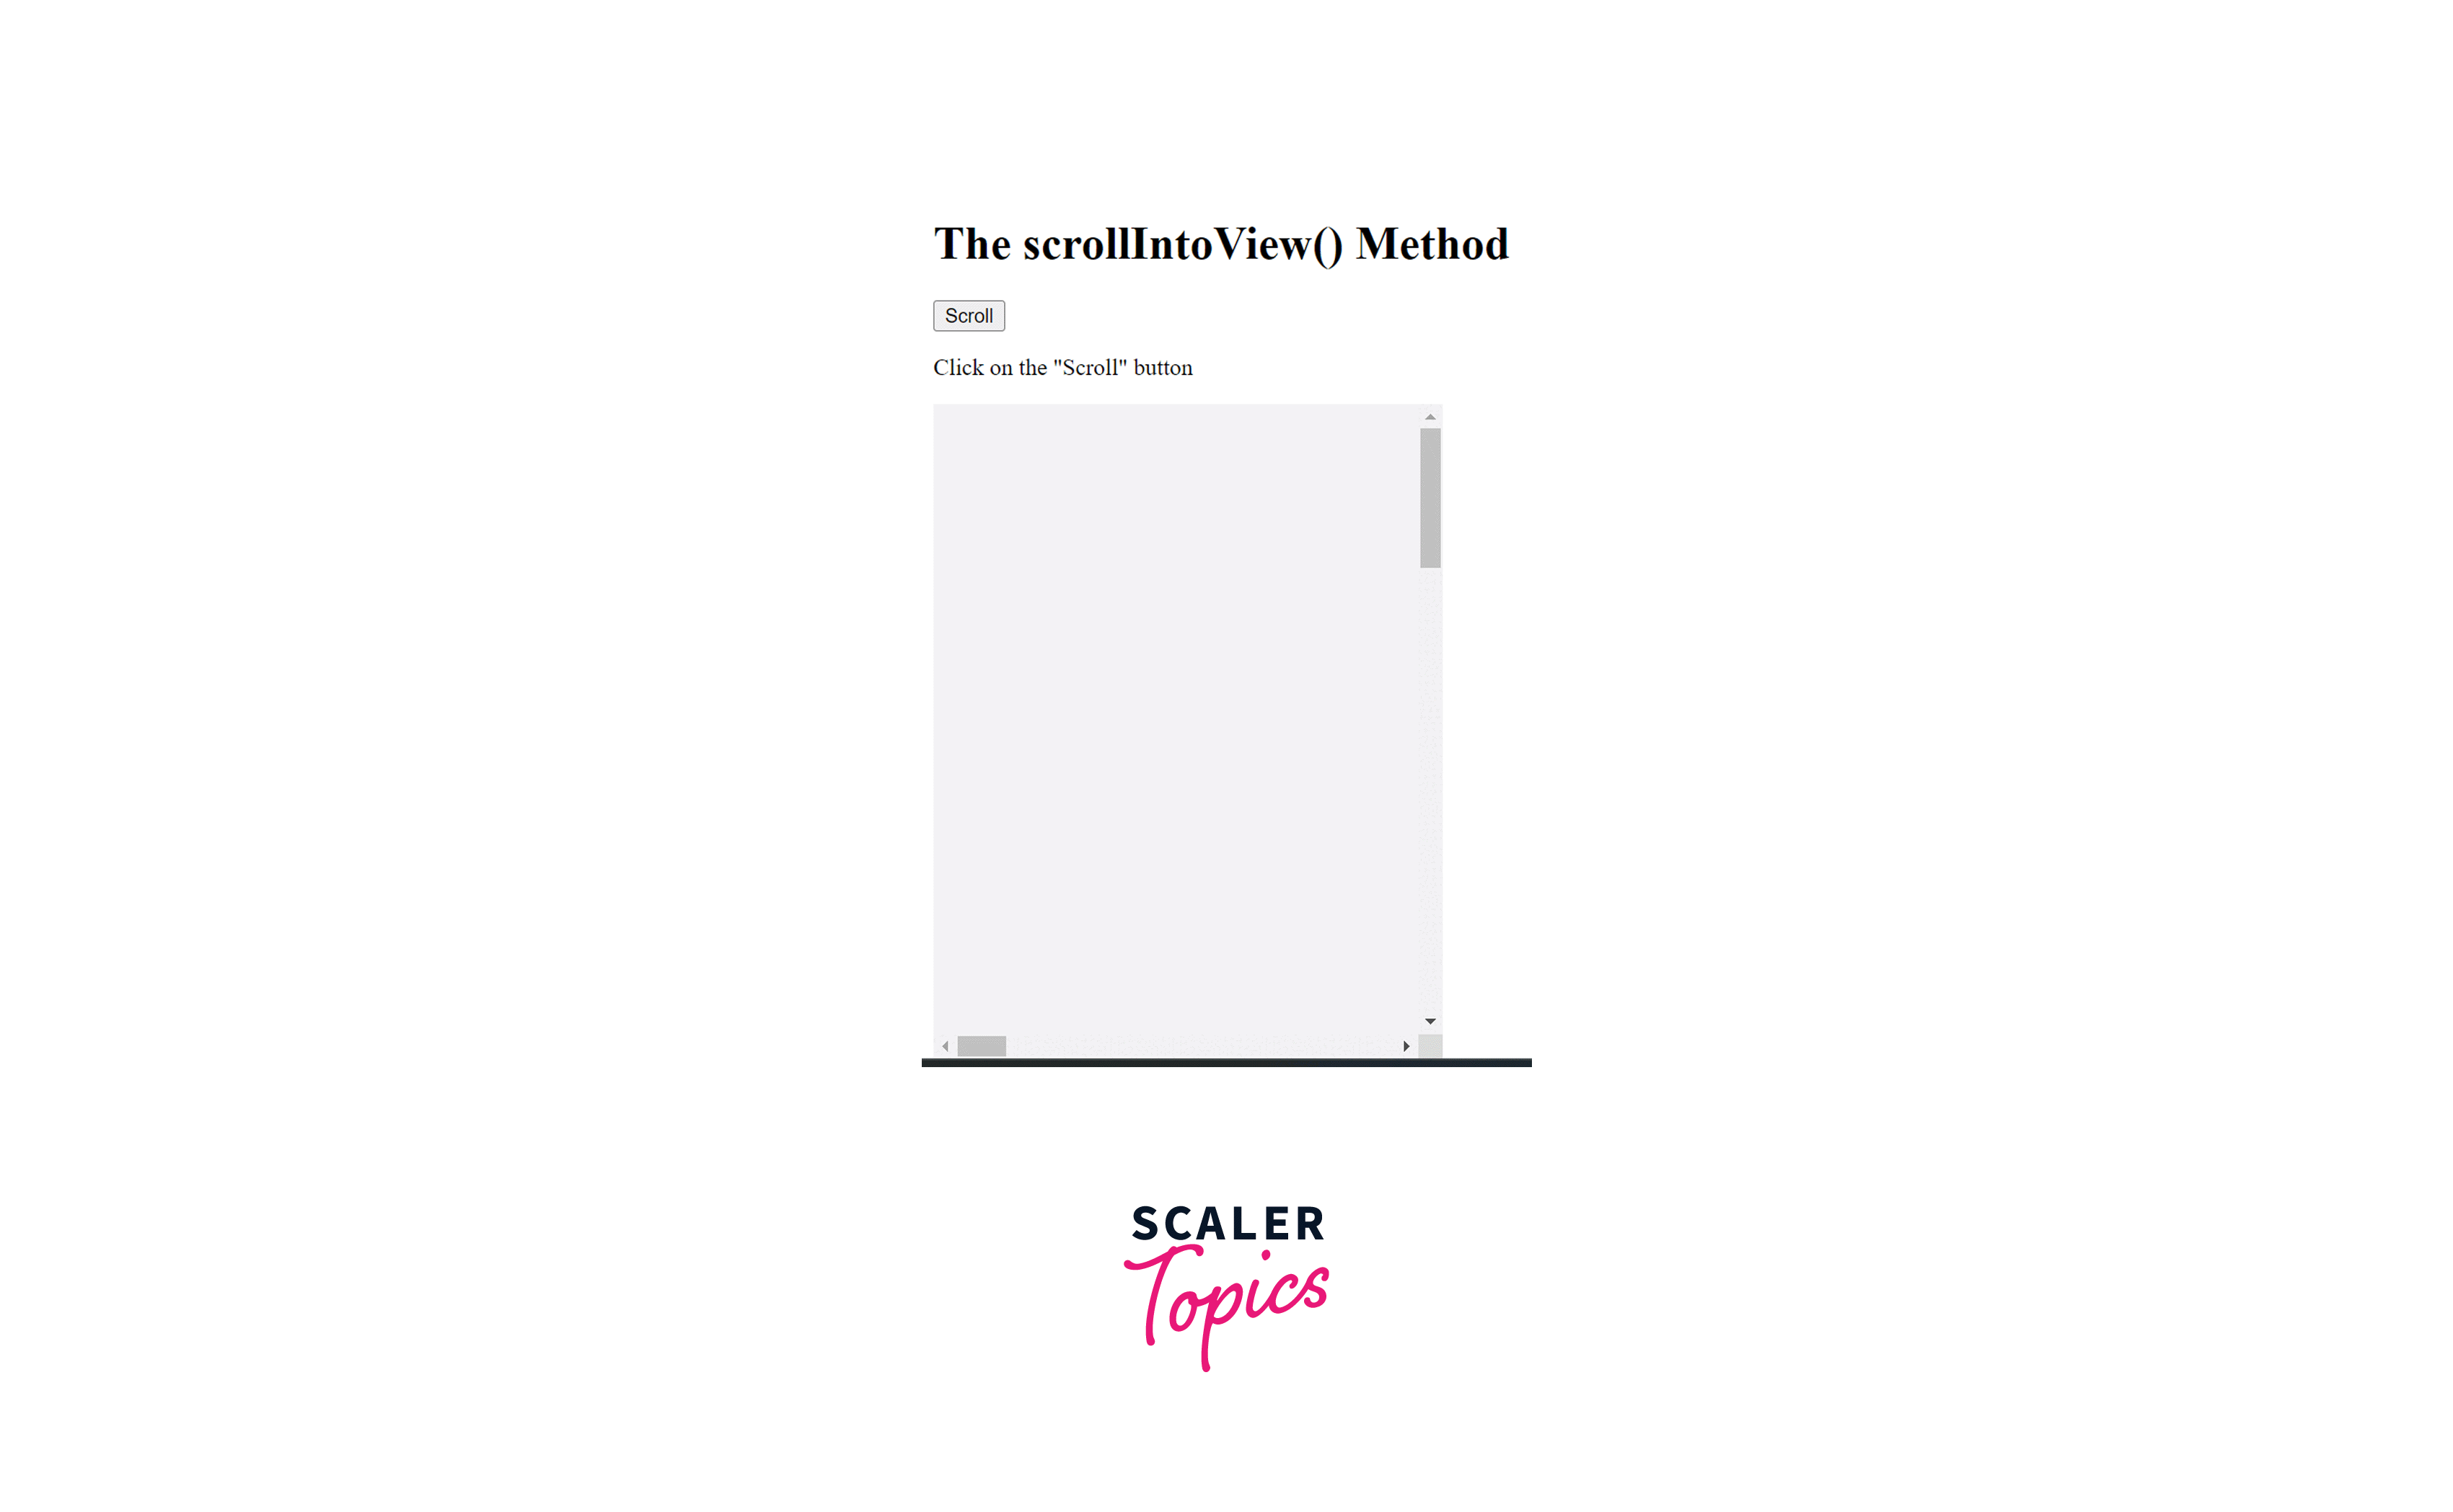
<h1>The scrollIntoView() Method</h1>
<button onclick="scrollFunction()">Scroll</button>
<p>Click on the "Scroll" button</p>
<div id="scroll">
<div id="content">
<p>scrollIntoView() method is used.</p>
</div>
</div>
<script>
function scrollFunction() {
const element = document.getElementById("content");
element.scrollIntoView();
}
</script>
</body>
</html>
Output:
Comments
Post a Comment