
How to set up git server on local network (Windows tutorial)

It is just easy as 1, 2, 3:
1) Go to folder, where you want to initialize server. Give it a name without spaces (or you will need to use quotes everywhere later to access this folder!)
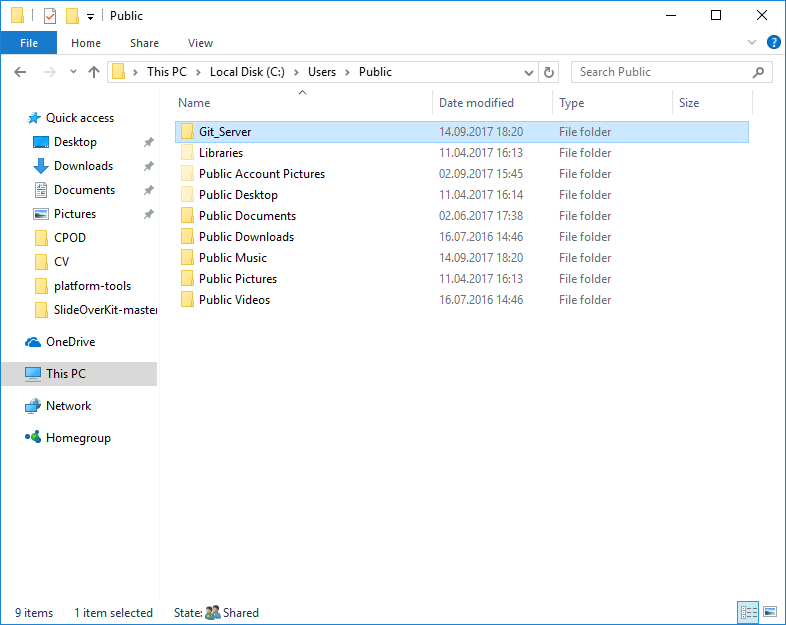
2) Open git bash in this folder
3) Type
git init yourpreferredname.git --bare
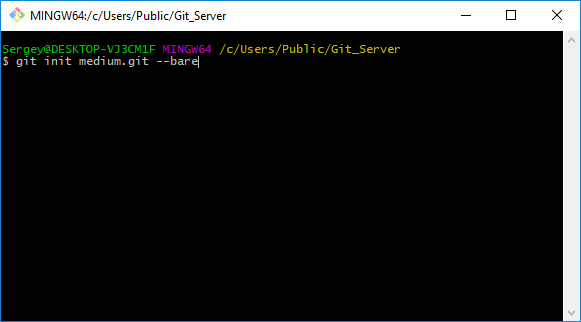
(Note: you can try to name your folder without ‘.git’ at the end but in some cases it led to troubles later)
Congrats! You’ve just set up your server! Let’s find out how to connect to it
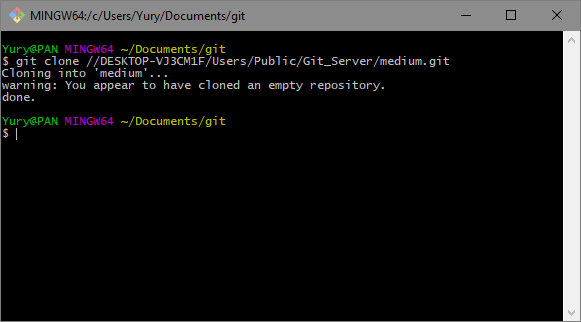
4) Choose where you want to initialize client repository and open git bash there. Type:
git clone <path_to_your_server>
IMPORTANT! DO NOT FORGET TO CHANGE BACKSLASH (‘\’) IN THE PATH TO DIRECT SLASH(‘/’)
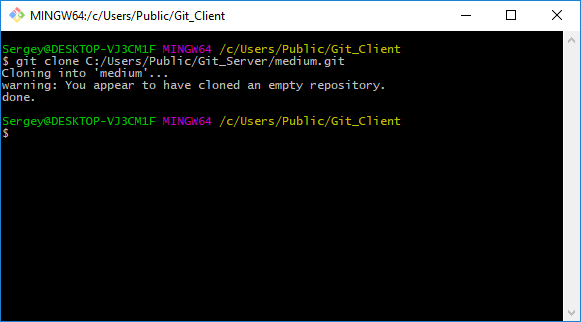
Congrats! You can use this repository as usual and open it with your favorite git client.
Ok, but how to connect to this server from another computer in local network? Easy!
5) Firstly go to Control Panel > Network And Sharing Center > Change advanced sharing settings
Tick turn on network discovery:
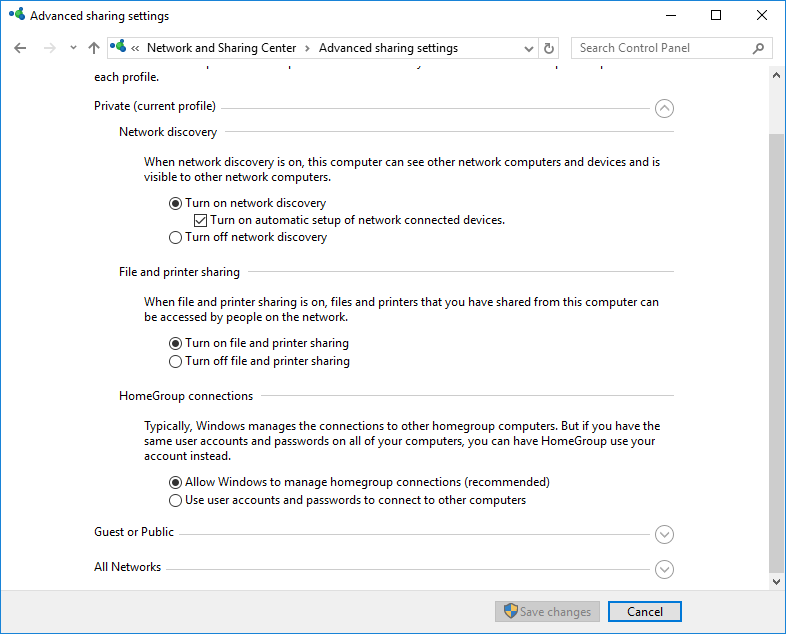
Then go to folder where you have set up server and share it with users that you want to give permission for accessing it.
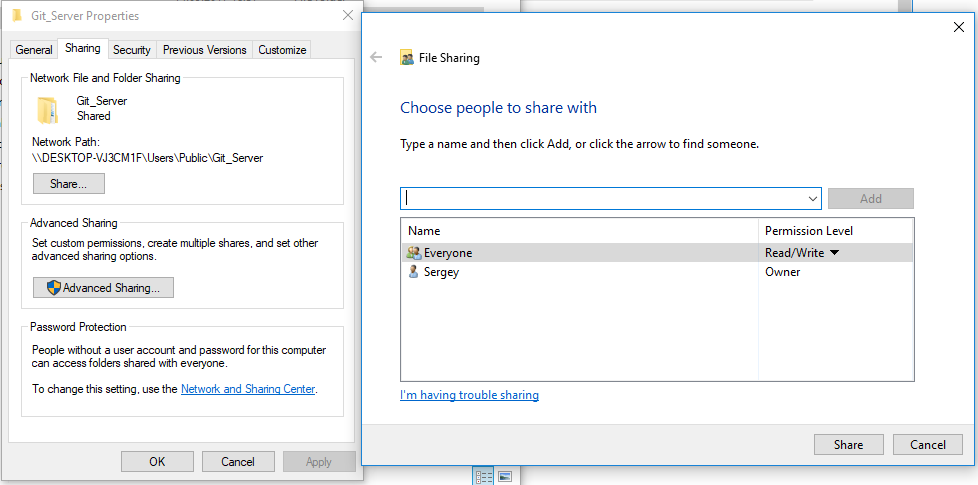
6) Send network path to clients. For them nothing changes: they do the same thing to connect to server:
(Tip: Do not forget about slashes)
That’s all! If you have any troubles with accessing the server from other computers — try to play with security settings for sharing folders.


Ref : https://medium.com/@piteryo7/how-to-set-up-git-server-on-local-network-windows-tutorial-7ec5cd2df3b1

Comments

Popular posts from this blog

C# Generic class to parse value - "GenericConverter"

    public class GenericConverter     {         public static T Parse<T>(string sourceValue) where T : IConvertible         {             return (T)Convert.ChangeType(sourceValue, typeof(T));         }         public static T Parse<T>(string sourceValue, IFormatProvider provider) where T : IConvertible         {             return (T)Convert.ChangeType(sourceValue, typeof(T), provider);         }     }     public static class TConverter     {         public static T ChangeType<T>(object value)         {             return (T)ChangeType(typeof(T), value);         }         public static object ChangeType(Type t, object value)         {             TypeConverter tc = TypeDescriptor.GetConverter(t);             return tc.ConvertFrom(value);         }         public static void RegisterTypeConverter<T, TC>() where TC : TypeConverter         {             TypeDescriptor.AddAttributes(typeof(T), new TypeConverterAttribute(typeof(TC)));         }     } ----------------

How to create a countdown timer in jquery

Create a countdown timer in jQuery First we need to include the jQuery library file to the HTML page to perform this task. To do that we need to understand that what exactly a jQuery library fie is ? JQuery library file is the library of JavaScript, which means this file contains the predefined functions of jQuery. We just need to call these functions to perform the task. jQuery functions reduces the lines of code and makes our task easy. As this jQuery library file contains the javascript functions so we need to call the function within <script> </script> tag. Now after including the file, we need to define a variable which will store that for how long you want the timer on the page(c=60) and now the time you set needs to be changed in hours , minutes and seconds using the code “ var hours = parseInt( time / 3600 ) % ;var minutes = parseInt( time / 60 ) % 60; var seconds = time % 60;” Now we need to put the condition if timer got finished (if (t

Tip/Trick: Fix Common SEO Problems Using the URL Rewrite Extension

Search engine optimization (SEO) is important for any publically facing web-site.  A large % of traffic to sites now comes directly from search engines, and improving your site’s search relevancy will lead to more users visiting your site from search engine queries.  This can directly or indirectly increase the money you make through your site. This blog post covers how you can use the free Microsoft  URL Rewrite Extension  to fix a bunch of common SEO problems that your site might have.  It takes less than 15 minutes (and no code changes) to apply 4 simple  URL Rewrite  rules to your site, and in doing so cause search engines to drive more visitors and traffic to your site.  The techniques below work equally well with both ASP.NET Web Forms and ASP.NET MVC based sites.  They also works with all versions of ASP.NET (and even work with non-ASP.NET content). [In addition to blogging, I am also now using Twitter for quick updates and to share links. Follow me at:  twitter.com/scottg